Step-by-Step Guide
Step 1: Gather Required Information

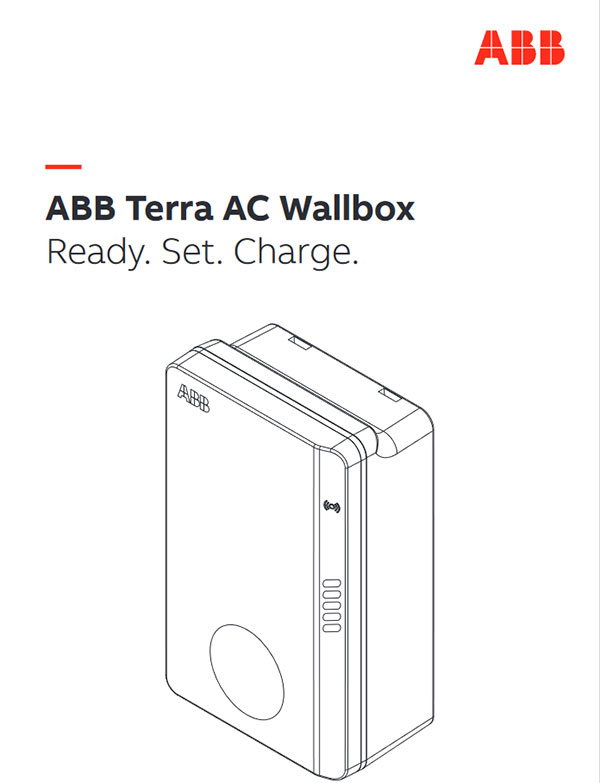
- Locate the PIN and Product Code: You will need your PIN code and Product code from the card included with your ABB Terra AC Wallbox. This information is essential for the setup process.
Step 2: Log in to TerraConfig
- Open the TerraConfig App: Launch the TerraConfig app on your smartphone. If you don’t have the app, download it from the App Store (iOS) or Play Store (Android).
- Register or Log In: If you do not already have a TerraConfig account, you will need to register a new account by following the on-screen instructions. If you already have an account, simply log in with your email address and password.
Step 3: Connect to the ABB Terra AC Wallbox
- Go to the Dashboard: Once logged in, navigate to the TerraConfig Dashboard.
- Configure a Charger: Select the “Configure a charger” option to begin the setup process.
Step 4: Add Your Charger
- Select Your Charger: In the “Connect to device” screen, find your ABB Terra AC Wallbox from the available devices list.
- Enter the PIN Code: The system will prompt you to enter the PIN code found on the card provided with your charger. Input the PIN code to proceed.
Step 5: Configure the OCPP Server


- Navigate to the OCPP Server Settings: In the “Configure a charger” screen, go to the OCPP Server settings.
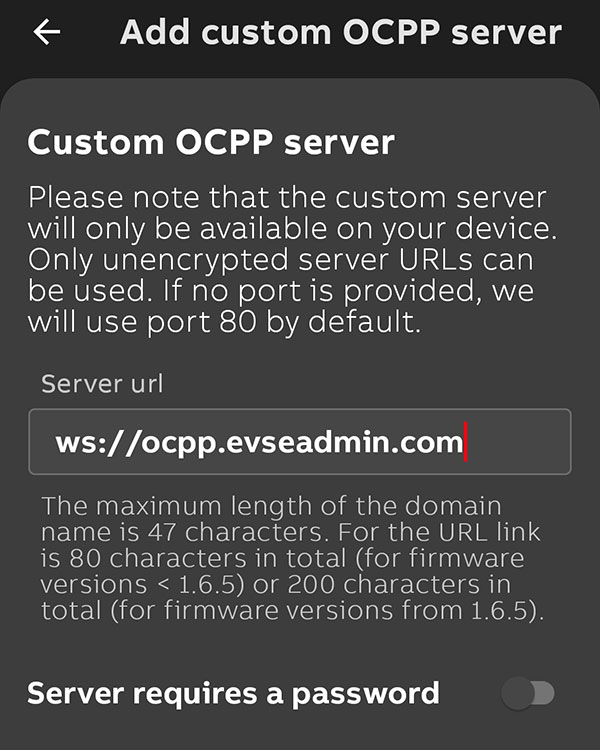
- Enable External Server: Turn on the “Enable external server” option.
- Enter the Server URL: Input the server URL provided by EVSEAdmin. Use the URL
ws://ocpp.evseadmin.com/ocpp/16jas TerraConfig does not allow the use of securewssURLs for external OCPP servers. - Confirm Configuration: Save your settings and confirm the configuration.
Step 6: Apply the Configuration
- Apply Settings: Wait while the configuration is being applied. The app will show you a progress screen as it applies the various settings, such as “OCPP Server,” “Connections,” and others.
- Confirmation: Once all settings are successfully applied, you will see a confirmation screen. Press “Done” to finish the setup process.
Step 7: Verify the Connection and Update OCPP Identifier

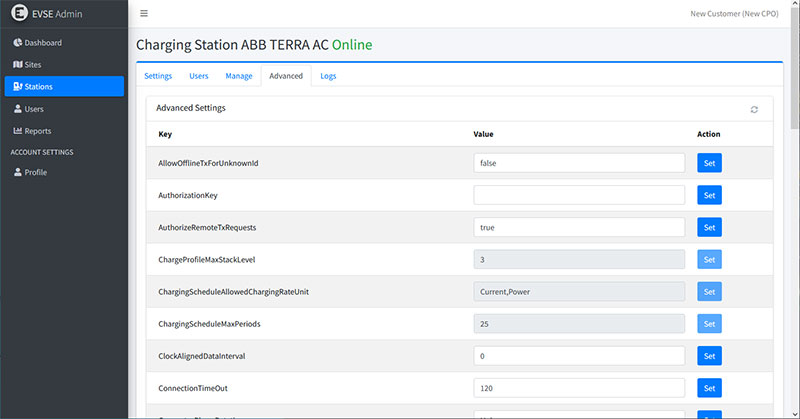
- Return to EVSEAdmin Dashboard: After setting up the OCPP Server, log in to the EVSEAdmin dashboard.
- Update OCPP Identifier: Change the OCPP Identifier in the EVSEAdmin system to match ABB’s product code (e.g.,
TACW2242522G9178). This step is crucial because the default identifier is randomly generated by the EVSEAdmin system, but TerraConfig requires the identifier to match the product code.
Final Steps
After completing these steps, your ABB Terra AC Wallbox should be successfully connected to the EVSEAdmin System, allowing you to manage your charging sessions and monitor usage.

If you encounter any issues during the setup process, consult your charger’s user manual or contact the EVSEAdmin support team for further assistance.


